Fudgy Brownie Mix Cookies Recipe (3 Ingredients, 20 Minutes!)
Discover the secret to creating the most decadent, chewy cookies using just a few simple ingredients and a box of brownie mix. Get ready to indulge in the rich, chocolatey goodness that will become your new favorite treat.
This Brownie Mix Cookies Is What Chocolate Heaven Tastes Like
I still remember the day I stumbled upon this recipe. I was rummaging through my pantry, searching for a quick dessert fix, when I spotted a box of brownie mix. As I began to experiment, I realized that the same mix could be transformed into the most scrumptious cookies. The result was nothing short of magic – soft, fudgy, and utterly irresistible cookie recipes were born.
Why This Is the Only Brownie Mix Cookies Recipe You’ll Ever Need
These cookies are more than just a sweet treat; they’re a game-changer. Perfect for Halloween parties, holiday gatherings, or simply satisfying your chocolate cravings, this recipe is a versatile delight. With its rich flavor and eye-catching presentation, you’ll be the star of any gathering. Plus, who can resist the allure of a cookie that’s both chewy and fudgy?
What You’ll Need (Ingredients)
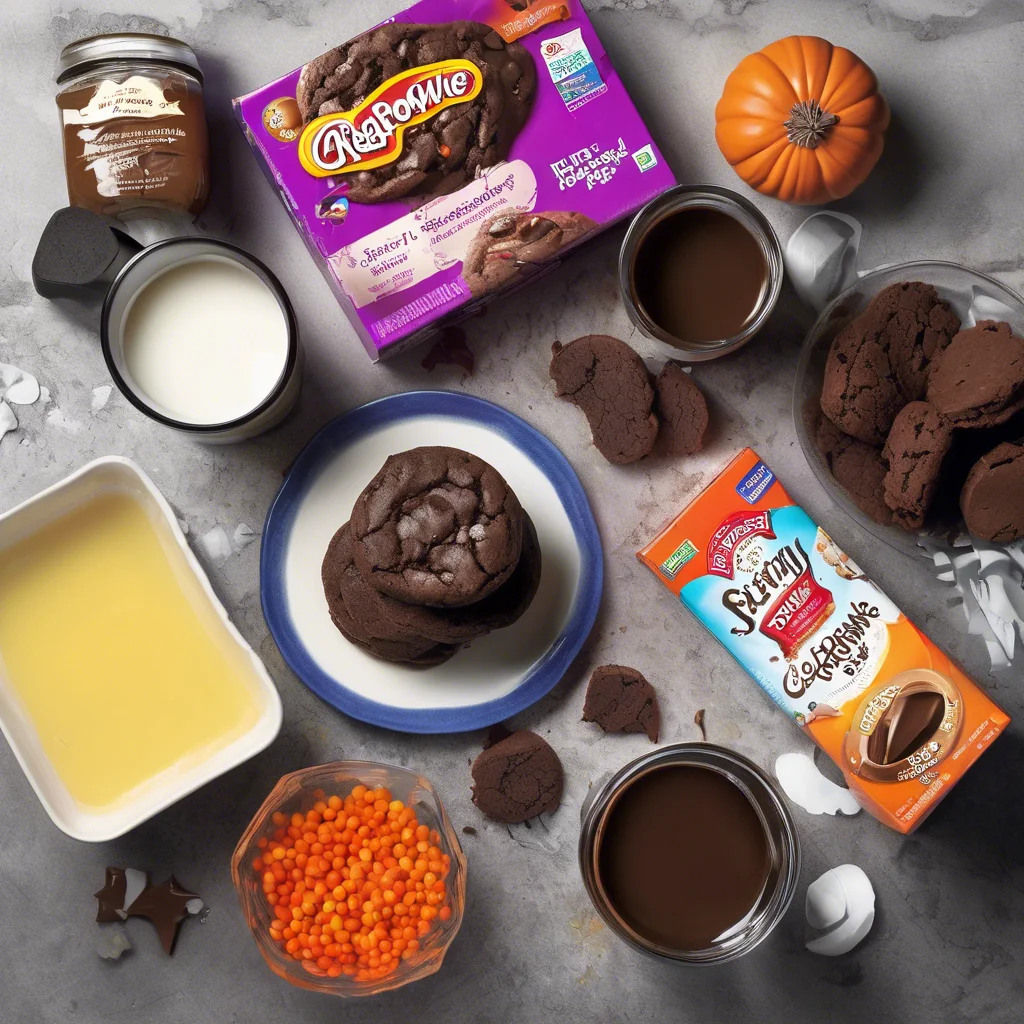
The beauty of this recipe lies in its simplicity. You’ll need just a few basic ingredients to create these mouthwatering cookies.
- 1 box (18-20oz) brownie mix – Family size works best. I’m loyal to Betty Crocker fudge style, but any brand works
- 1/3 cup vegetable oil – Or melted coconut oil if you’re feeling fancy
- 2 large eggs – Room temp helps, but I’ve used cold eggs in a pinch
Prep, Cook Time & Tools
Before we dive into the step-by-step guide, let’s cover the basics. This recipe requires minimal prep time and uses common kitchen tools.
- Prep Time: 5 minutes
- Cook Time: 12 minutes
- Yield: 18 cookies
- Equipment Checklist:
- Mixing bowl (I use whatever’s clean – no stand mixer needed)
- Baking sheet
- Parchment paper or silicone mat
- Cookie scoop or tablespoons
Step-by-Step: Let’s Make This Together
Now that we have our ingredients and tools ready, let’s get started on the most crucial part – creating these delicious cookies.
Step 1: Preheat & Prep Your Tools
Fire up your oven to 350°F. If you’re using an older oven like mine, you might want to adjust the temperature to 325°F to avoid overcooking. Line two baking sheets with parchment paper or a silicone mat – or use one if you’re baking in batches like I usually do. The aroma of a preheating oven is always a good sign that something delicious is on its way.
Step 2: Mix Dough in One Bowl
Dump everything into a mixing bowl. Yes, it’s that simple! Stir until just combined – about 30 seconds with a wooden spoon should do the trick. Be careful not to overmix, as this can lead to cakey cookies. We’re aiming for a thick mudslide batter consistency, not a fluffy cake mix.
Step 3: Scoop & Bake for Fudgy Centers
Use a 1.5 tbsp scoop (or heaping tablespoons) to portion out the dough. Leave about 2 inches of space between each cookie to allow for spreading. I learned the hard way that not leaving enough space can result in a cookie-sheet-sized brownie – not the end of the world, but not what we’re going for here. Bake for 10-12 minutes or until the edges look dry but the centers still jiggle slightly. Resist the temptation to poke them; they’ll firm up as they cool.
Step 4: Cooling Tips for Chewy Texture
Let the cookies rest on the baking sheet for 5 minutes before transferring them to a cooling rack. This step is crucial – moving them too soon can result in sad, crumbled cookies. I’ve been there, done that, and learned my lesson. The wait is worth it, I promise!
Expert Tips for the Best Results
Through trial and error (and a few batches that didn’t quite make the cut), I’ve gathered some valuable insights to help you achieve cookie perfection.
- Bake one test cookie first to check spread
- Undermix the dough – lumps are your friends
- Use chilled dough if adding mix-ins (10min in fridge firms it up)
Recipe Variations & Mix-In Ideas
One of the best things about this recipe is its versatility. You can easily customize it to suit your taste or the occasion.
Chocolate Lovers’ Upgrade
Stir in 1/2 cup chopped dark chocolate or swirl peanut butter into dough balls for an added layer of flavor. My personal favorite? Pressing a Rolo candy into each warm cookie – pure bliss!
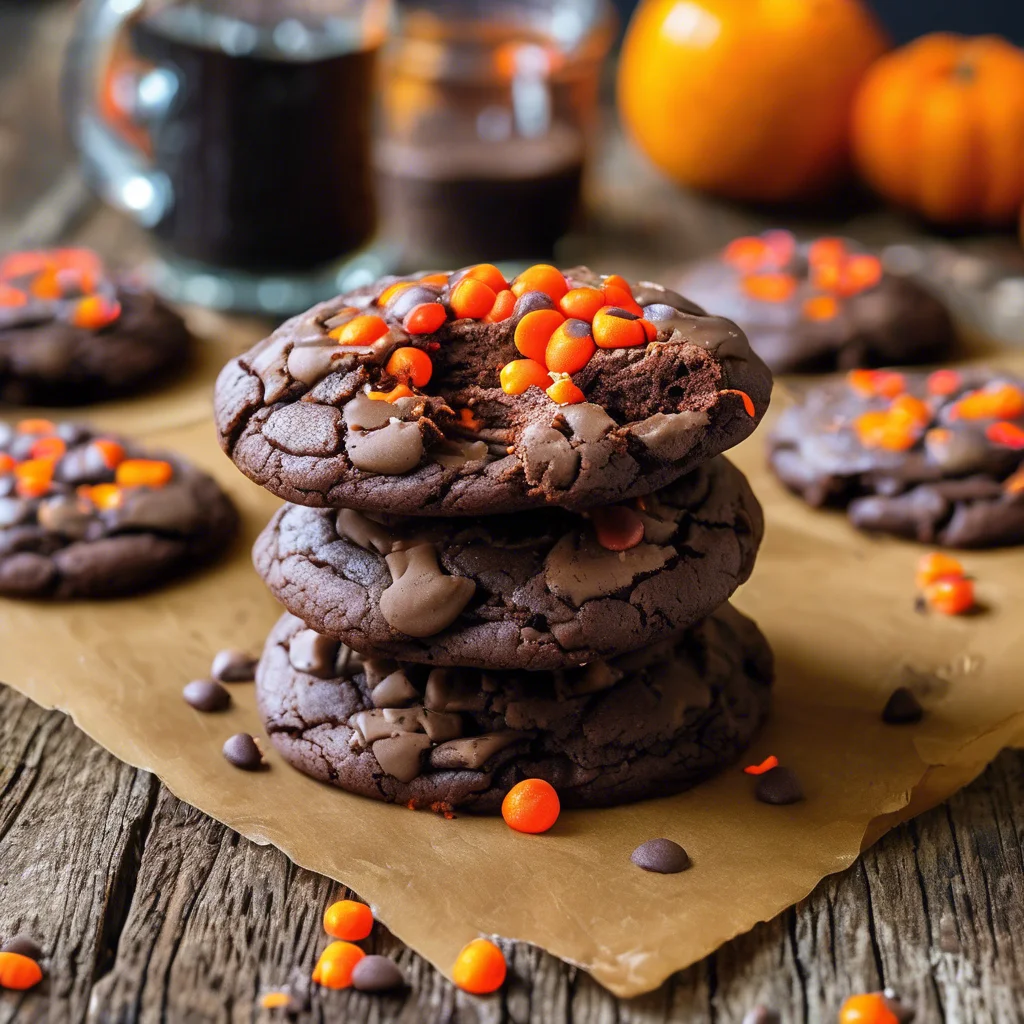
Festive Holiday Twists
Add 1 tsp peppermint extract and crushed candy canes for a Christmas treat. During Hanukkah, sprinkle with gold sanding sugar for a luxurious touch. For Halloween, turn them into monster cookies with orange sprinkles and candy eyes.
Serving Suggestions
Now that your cookies are ready, it’s time to get creative with how you serve them.
- Smush a cookie between scoops of coffee ice cream – my neighborhood ice cream truck guy actually asked for this recipe!
- Stack cookies in cellophane bags tied with baker’s twine and tuck in a mini whisk for a “pro baker” feel. I’ve gifted these to teachers for years.
Storage, Shelf Life & Leftovers
To keep your cookies fresh, store them in an airtight container with a slice of bread. Yes, you read that right – the bread gets hard, but the cookies stay soft! You can also freeze dough balls on a parchment-lined tray, then bag them. When you’re ready to bake, simply add 2 minutes to the cook time.
Frequently Asked Questions
Let’s address some common questions that might arise as you make these delicious cookies.
Why did my cookies spread too much? Overmixing or warm dough are the usual culprits. Chilling the scooped dough for 10-15 minutes before baking usually solves this problem.
How long do these stay fresh? When stored properly in an airtight container, these cookies stay fresh for about 3 days at room temperature. Freezing is a great option for longer storage.
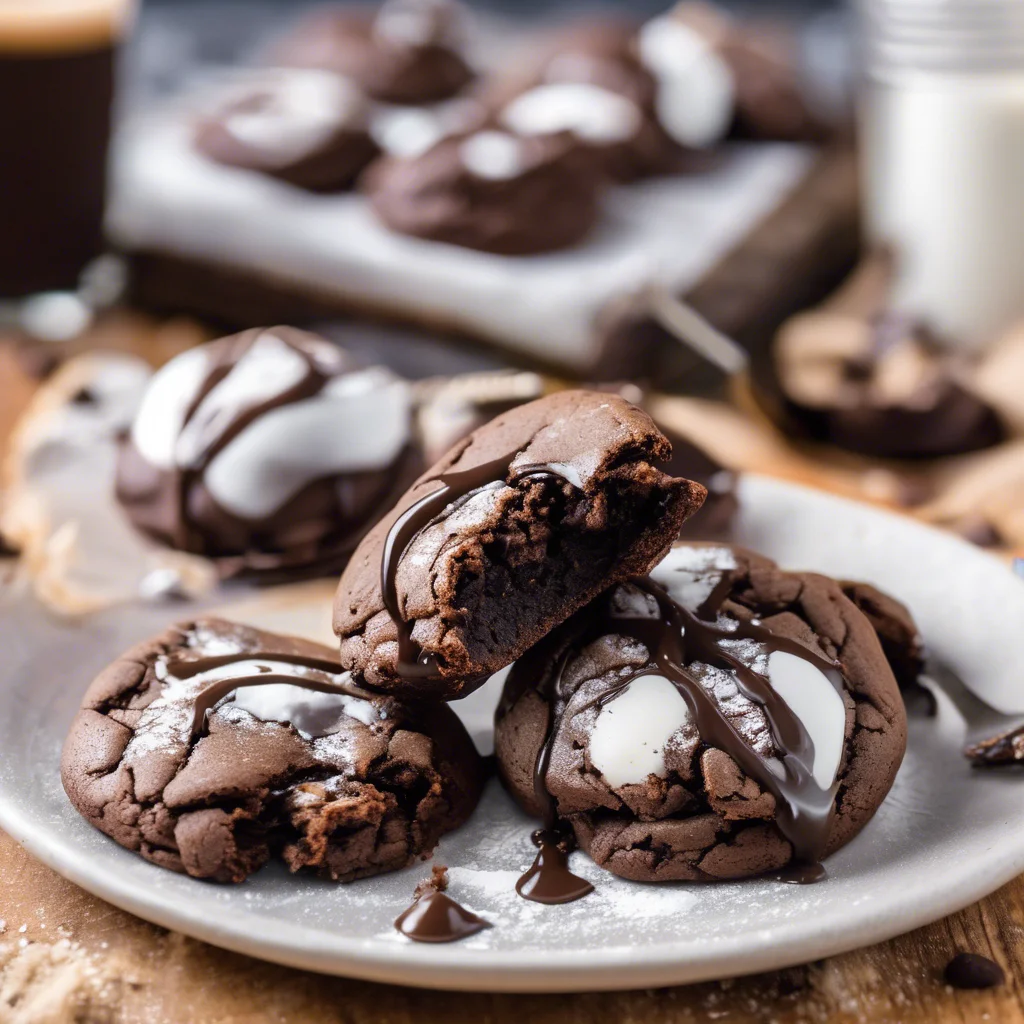
Can I add frosting? Definitely! I love drizzling melted chocolate over cooled cookies or topping them with cream cheese frosting for an extra-special treat.
What if I don’t have vegetable oil? No problem! Melted butter or coconut oil work beautifully as 1:1 substitutes.
Are these gluten-free? It depends on the brownie mix you’re using. Choose a GF-certified mix and check for cross-contamination warnings on the label.
Final Bite: Why I’ll Always Love This Brownie Mix Cookies
This recipe is more than just a set of instructions; it’s a gateway to creating memories and indulging in the simple pleasures of life. Whether you’re a busy parent, a student, or just someone with a sweet tooth, these cookies are sure to become a favorite. So go ahead, give them a try, and share them with the people you love. I’d love to hear how it goes, so leave a comment below!
![Write a concise, SEO-optimized alt text (max 125 characters) for a recipe image. Include the focus keyword: '[object HTMLInputElement]'. Describe the visual elements of the dish, including presentation, ingredients, and serving style. Focus on what someone would see in the photo and what would make it appealing to both users and search engines.](https://irecipeyou.com/wp-content/uploads/2025/06/mouth-watering-reese-s-peanut-butter-cup-cheesecake-recipe-image-768x768.webp)