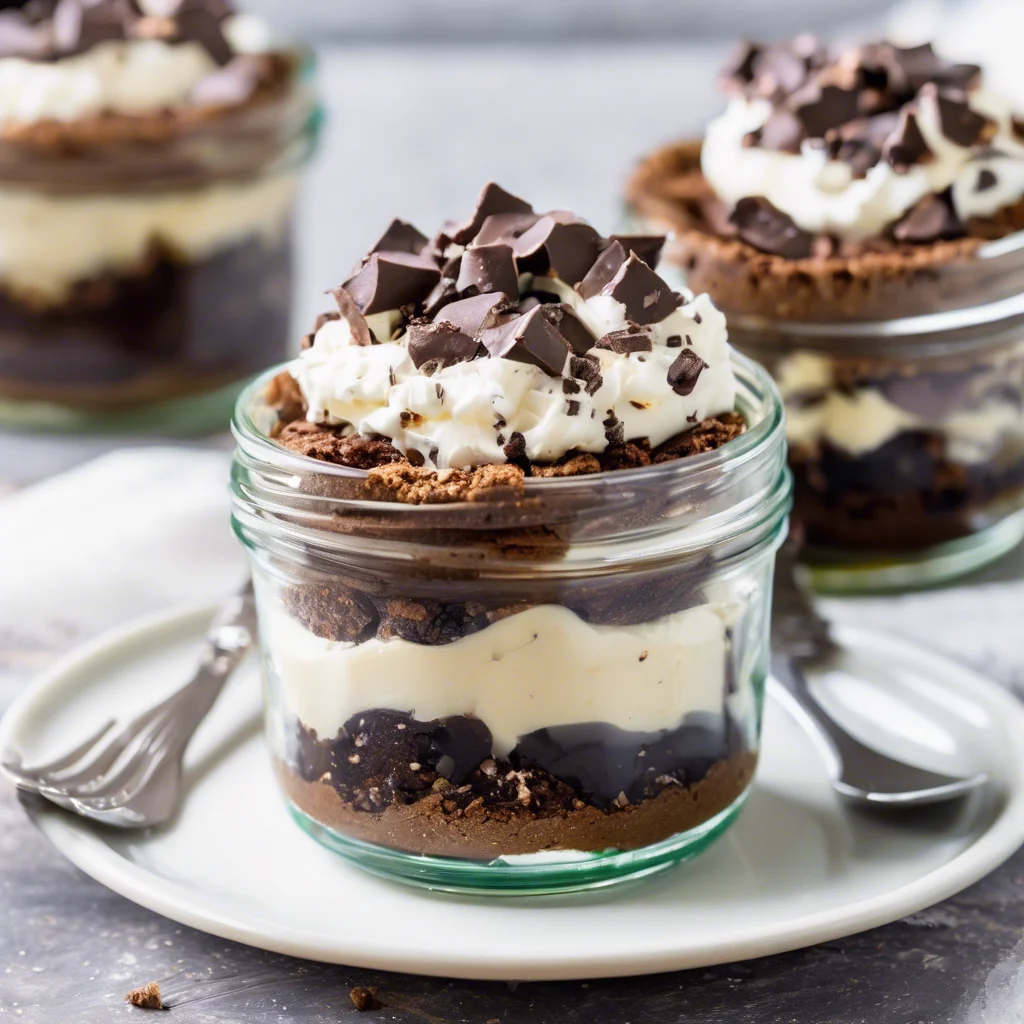
Loaded Brownie Cheesecake Cups: The No-Bake Miracle That Stole My Heart
Discover how these Loaded Brownie Cheesecake Cups became my go-to dessert for impressing crowds, surviving potlucks, and curing late-night chocolate emergencies. No oven required!
This Loaded Brownie Cheesecake Cups Recipe Is What Joy Tastes Like
Let me tell you about the time I showed up to a backyard BBQ with a muffin tin of these beauties. My cousin Linda – the same woman who brings organic kale chips to every gathering – actually *ran* across the lawn when she saw me unwrap them. That’s the magic of chocolate and cream cheese layered in a cup, friends. It’s like that moment when you find a forgotten chocolate bar in your winter coat pocket, but multiplied by ten.
Why This Is the Only Loaded Brownie Cheesecake Cups Recipe You’ll Ever Need
What makes these cups absolutely criminal? Let me count the ways: 1) They require exactly zero baking (hello, summer kitchen saviors) 2) The textural symphony of fudgy crumbs against cloud-like cheesecake 3) That glorious “I slaved all day” look achieved in about 20 active minutes. I’ve used this recipe for baby showers, breakup recovery missions, and that time my book club “accidentally” opened three bottles of Cabernet. They always disappear faster than you can say “second helping.”
What You’ll Need (Ingredients)
Gather these simple warriors – I promise there’s no obscure ingredient that’ll make you trek to specialty stores. Unless you count “opening your pantry” as a specialty store.
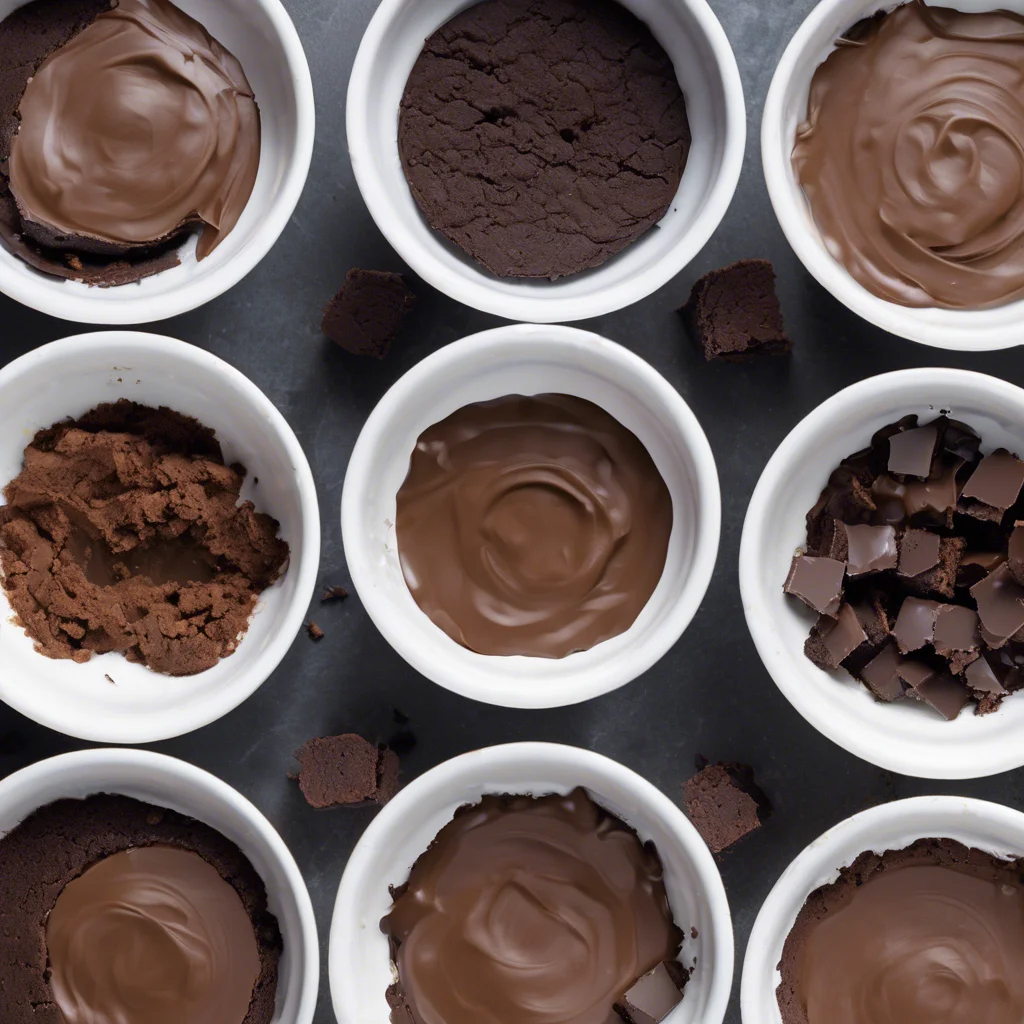
- Brownie Base: • 2 cups fudgy brownie crumbs (homemade or store-bought)
- Cheesecake Layer: • 1 ½ cups cream cheese, softened • ½ cup powdered sugar • 1 tsp vanilla extract • 1 cup heavy cream, whipped to stiff peaks
- Toppings: • Chocolate ganache (melted chocolate + cream) • Caramel sauce • Extra brownie crumbs for garnish
Prep, Cook Time & Tools
Active time: 25 minutes | Chilling: 1+ hours | Total: 1.5 hours (mostly Netflix time)
Tools: Mixing bowls, hand mixer (or strong arms), spatula, serving glasses/cups. I’ve used everything from fancy parfait glasses to recycled jam jars – the cookies crumbs don’t judge!
Step-by-Step: Let’s Make This Together
Step 1: The Cheesecake Tango (Where Cream Cheese Meets Its Soulmate)
Alright, let’s start with the star – the cheesecake layer. Throw your softened cream cheese into a bowl. If you forgot to soften it? No panic! Microwave the block for 10 seconds MAX while loudly denying you ever did this if any chefs ask. Add powdered sugar and vanilla. Now, here’s where the magic happens: whip it like you’re channeling your inner rockstar. You want that mixture so smooth, it could double as face cream (don’t actually do that). Once it’s fluffier than my cat’s winter coat, gently fold in the whipped cream. Pretend you’re tucking in a baby cloud – gentle swoops from the bottom up. If a few streaks remain, embrace the “rustic charm.”
Step 2: Architectural Digest: Dessert Edition (Layering Like a Pro)
Grab your chosen vessel – I’m partial to wide-mouthed coffee mugs for maximum crumb access. First layer: brownie crumbs. Press them down like you’re burying treasure. Then comes the cheesecake. Spooning works, but piping makes you feel like a pastry wizard. Either way, leave a ½ inch gap at the top – we need room for the chocolate waterfall coming later. Repeat layers if your cups are deep enough. Made a lopsided layer? Call it “abstract food art” and keep going.
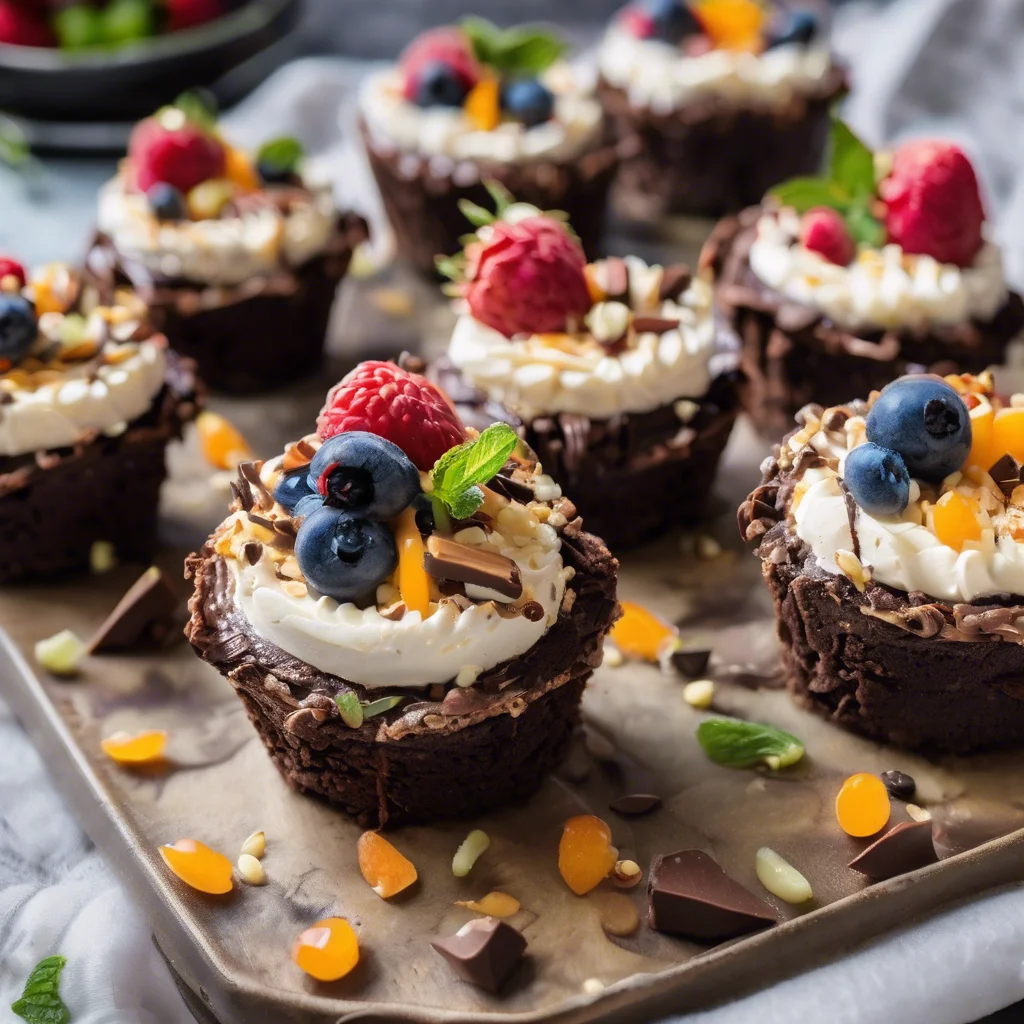
Step 3: The Grand Finale (Where Your Inner Artist Shines)
This is your Mona Lisa moment. Drizzle warmed ganache so it cascades down the sides – the messier, the better. Swirl caramel like you’re Jackson Pollock. Top with more crumbs (crunch factor!) and maybe a sprinkle of sea salt if you’re feeling fancy. Pro tip: lick the caramel spoon “to clean it” while no one’s looking. I won’t tell.
Step 4: The Agonizing Wait (AKA Netflix & Chill Literally)
Pop these beauties in the fridge. One hour is minimum, but overnight is luxury. The filling firms up, the flavors marry, and the anticipation builds. Resist opening the fridge every five minutes – I’ve been there, and the light burns out faster than you think.
Serving & Garnishing Tips
- Add a dollop of peanut butter between layers for a Reese’s twist
- Crush mint candies on top for a “thin mint” version
- Serve with tiny spoons to force slow enjoyment (good luck with that)
Storage, Shelf Life & Leftovers
These keep 3 days in the fridge if hidden behind the broccoli (your secret’s safe with me). Freeze individual cups for up to a month – perfect for emergency chocolate attacks. Thaw in fridge for 2 hours or microwave 20 seconds for instant gratification.
Final Bite: Why I’ll Always Love This Loaded Brownie Cheesecake Cups
Every time I make these, I’m reminded of life’s simple truths: 1) Chocolate fixes most problems 2) No-bake desserts are the ultimate life hack 3) Sharing food = sharing love. Now go forth and create your own crumbly, creamy memories! Tag me on social or whisper sweet nothings to your fridge – either way, I’m cheering you on.

![Write a concise, SEO-optimized alt text (max 125 characters) for a recipe image. Include the focus keyword: '[object HTMLInputElement]'. Describe the visual elements of the dish, including presentation, ingredients, and serving style. Focus on what someone would see in the photo and what would make it appealing to both users and search engines.](https://irecipeyou.com/wp-content/uploads/2025/06/easy-homemade-no-churn-blueberry-ice-cream-recipe-image-768x768.webp)
